
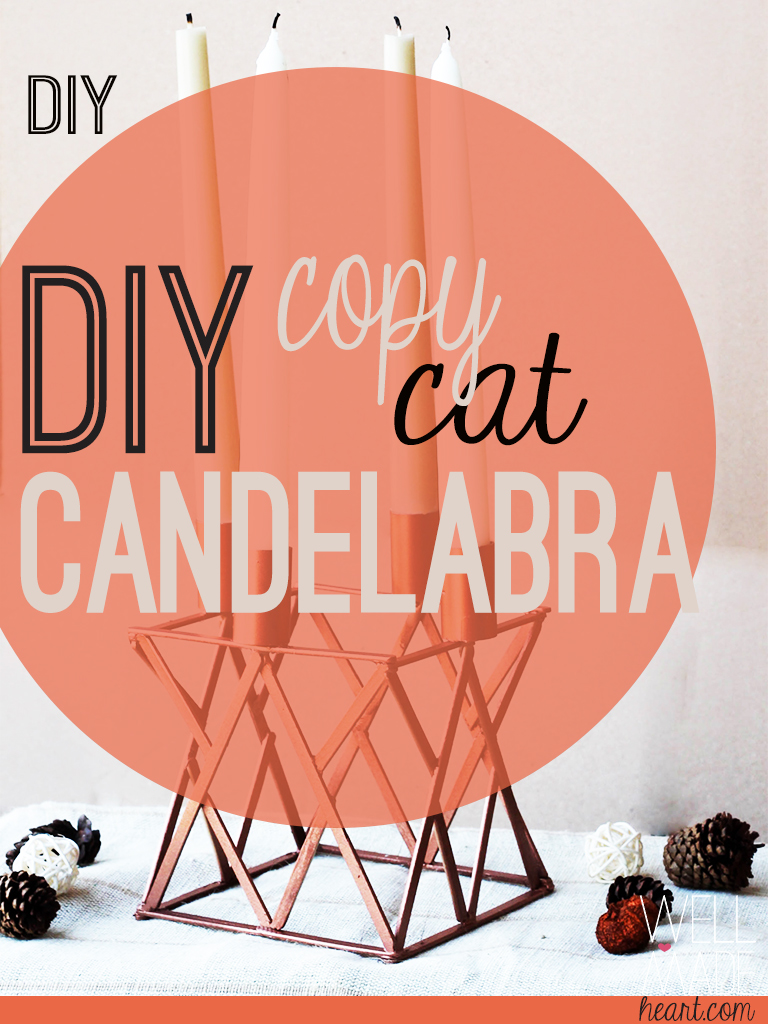
DIY Copy Cat Candelabra
Hey everyone! So I have a kind of wonderful DIY today- eek I’m excited! Okay so this is how the story begins- I LOVE Target. Yep, no joke (and no surprise) but recently I got a catalog in the mail for their fall pieces. The stuff is wonderful! BUT being on a budget and all, well, let’s just say I don’t get to buy everything that catches my eye.
SO as I was browsing (okay, studying and taking notes) the catalog, a shiny fall Candelabra caught my eye. It’s metal, it’s got angles, it’s mid-century modern, it’s fabulous. But the more I looked at it, the more I realized that um, yep, I could so DIY this!

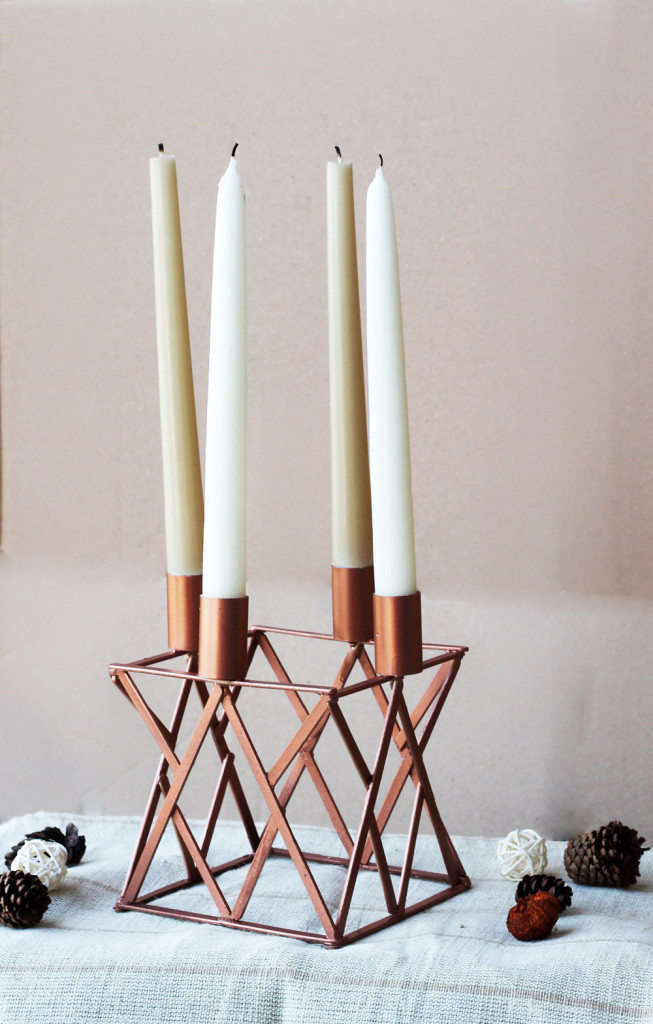
And I did. With popsicle sticks. And my glue gun. 🙂 Here’s my DIY copy cat candelabra:
Okay so, if you feel up to it (and you should because this seriously should take you an hour max!) here’s what you’ll need:
- Craft sticks (aka popsicle sticks)
- glue gun
- 4 copper couplings at 3/4 inches (found in plumbing area of any home improvement store)
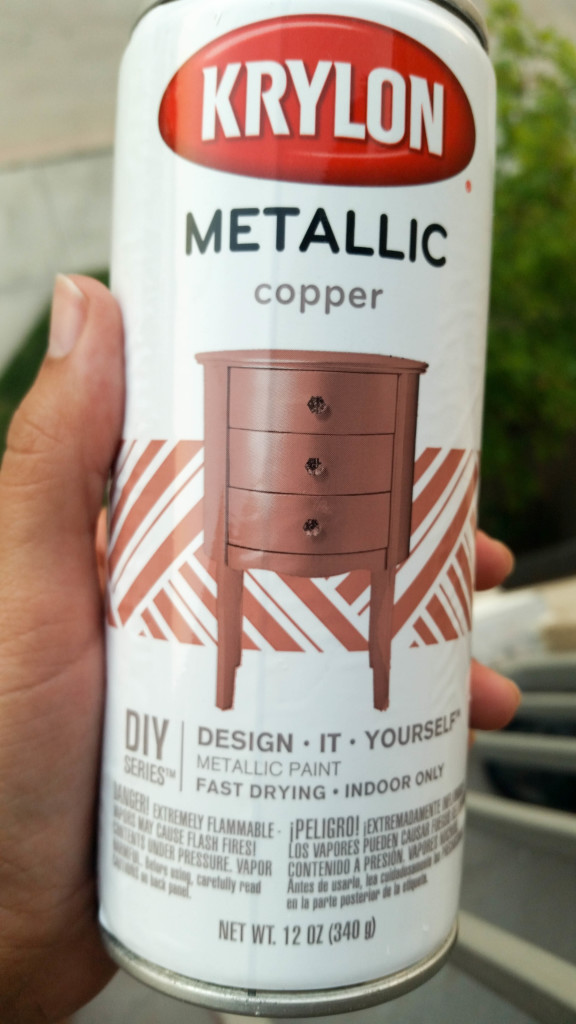
- copper spray paint (or whatever color you want, mine is bronze)
Okay, so before you begin let’s talk about the craft sticks. There are several kind, but for this project you need the long skinny ones, not the regular sized ones (like the ones on your popsicles) nor the jumbo kind.

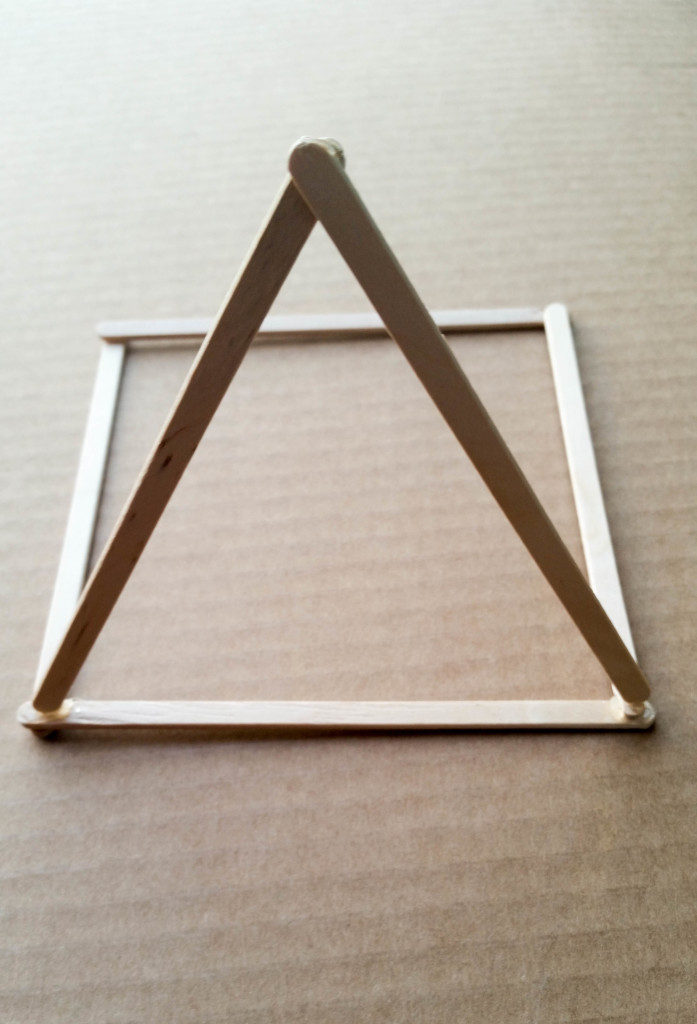
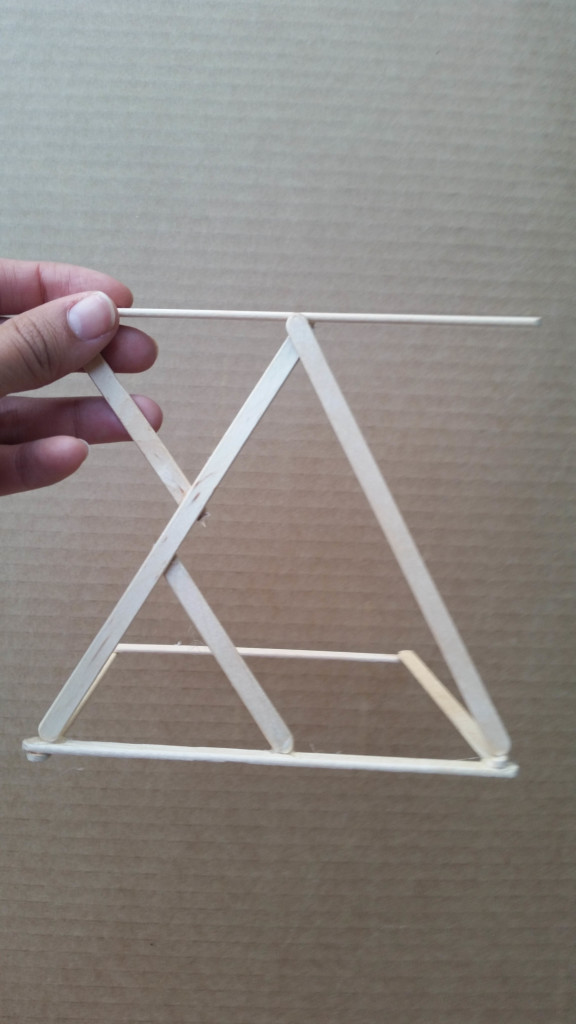
Ok now- plug your glue gun in and start by making the base of the candelabra by making a square. Very hard I know, lol. Glue the ends together as so.

Next, you’ll build the walls by making triangles. Glue the sticks to the base and join them at the tops to make one side. Continue on all four sides.

Once you’ve got the sides done, make another square like you did for the bottom. This will be the top. Glue it to the tops of the triangles, parallel to the bottom. If you feel like it’s looking a little wonky- don’t worry, the small sticks will help stabilize it all.
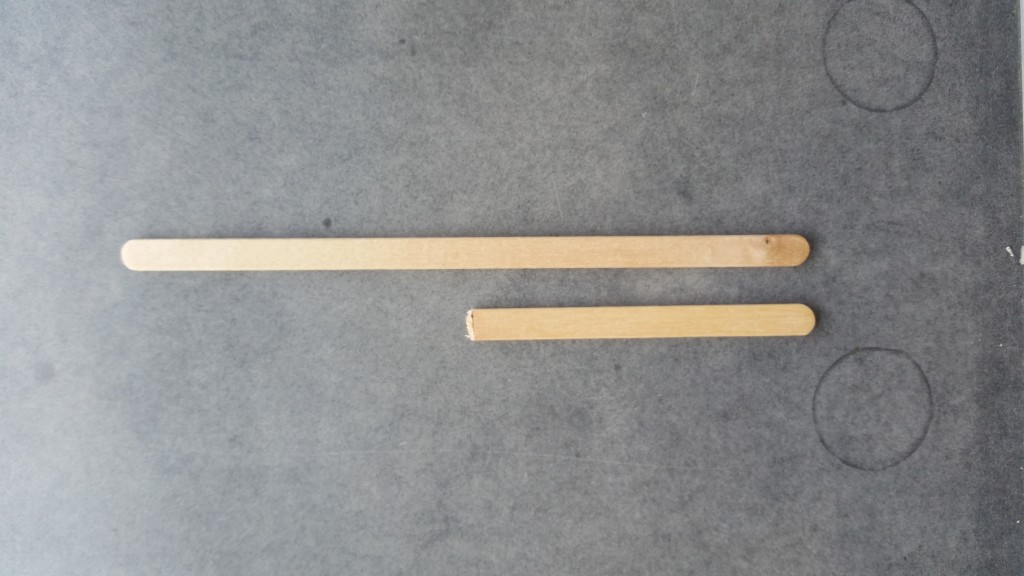
Okay, so for this next part you’ll want to cut all the sticks first before gluing them on. It just saves time and makes the process easier. So, you need 8 small sticks at 3 inches each. The easiest way to cut the sticks is by using your scissors to make a dent all the way around the stick at the exact place you’ll want to cut. Then when you feel you’ve weakened the stick enough, snap it with your hands. It should snap right at the exact place you want it to.
Glue those small sticks onto the the outer edges of your triangles, joining it with the outer edge of the top square. This is what will help the wonkiness- but your sticks should all be the same length to do this.

You’ll do the same for the inside angle squares. These 8 pieces are exactly half the length of the stick. Cut them the same way you cut the others. These aren’t to stabilize much- just for decor.
Do this all the way around!
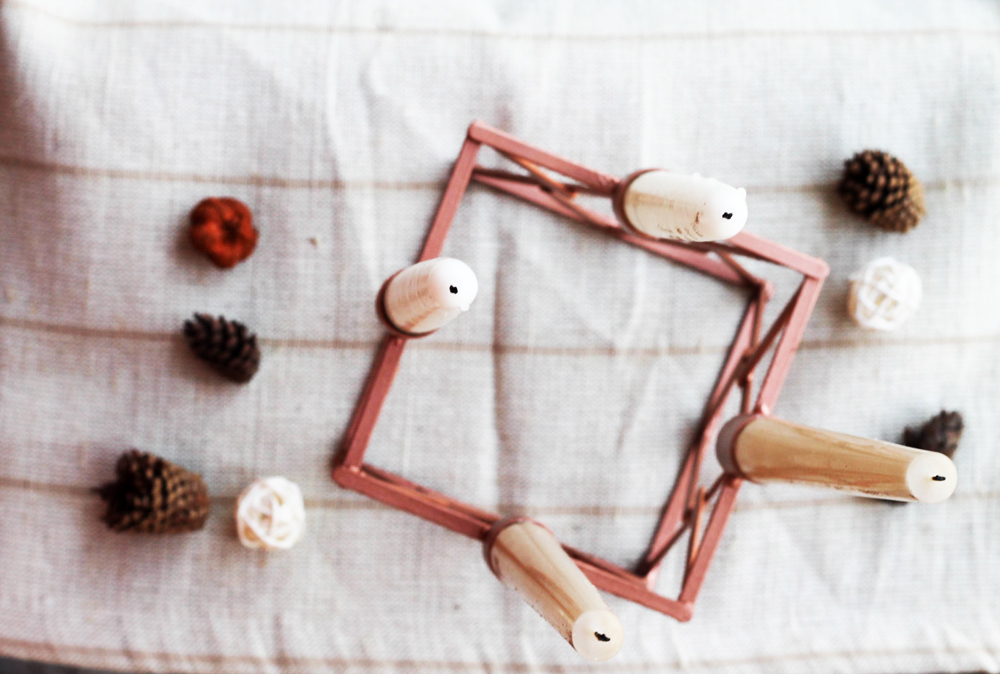
Okay, next is to add the couplings. Now, I extra glued these babies on to make sure they were extra stable. The best way was to turn the whole thing upside down and glue from underneath. You can also use whatever kind of coupling you want- pvc pipe, metal, etc. Just make sure your candles will fit!

And last you’ll want to spray paint. Now is the time for clean up as well. Those little glue strings can get everywhere, so make sure to peel them off, as well as peel off any addition glue that’ll look thick when sprayed. You can even take a small nail file and sand down some of the edges to the half sticks to help smooth it all out.
Once you’re happy with it, spray away! The photo from Target has the candelabra in copper- and I had a copper spray paint, but it came out more bronze than copper in my opinion.
Spray that baby up, let it dry, and you’re done!
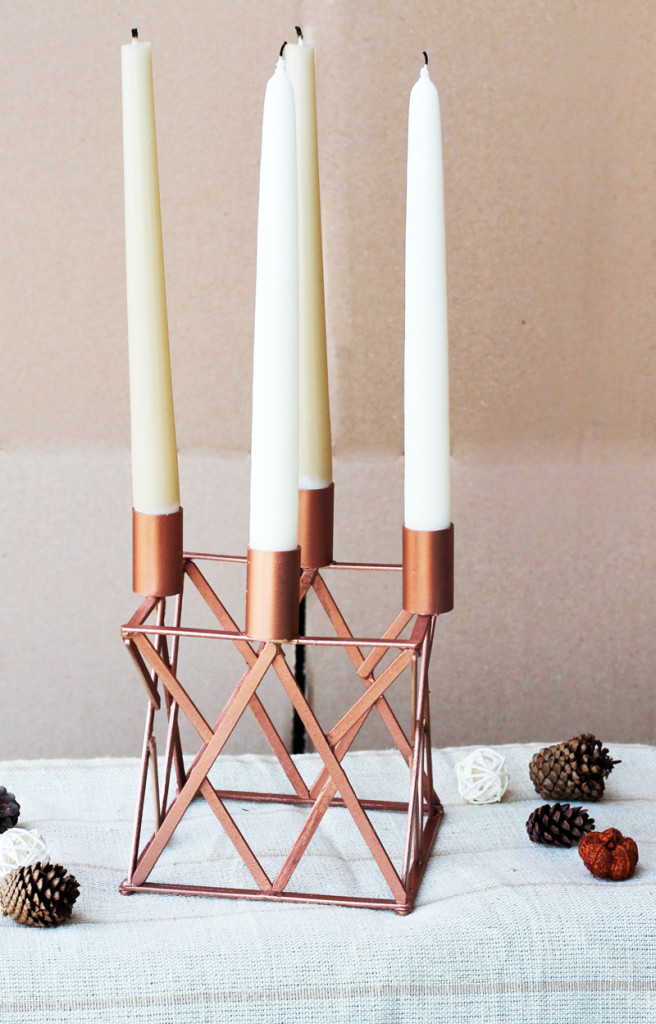
It fits the taper candles- but they do have to be tapered at the ends, otherwise they won’t fit very well.
And that’s it! It’s obviously not as thick nor heavy as the metal one, but it works just as well and for a fraction of the price! So what do you think of this easy DIY Candelabra? Nice addition to the fall collection, I say 🙂
Hope you enjoy! Happy Wednesday!

Very nice! I like yours better 😉
Gracias Ama! It was definitely cheaper 🙂